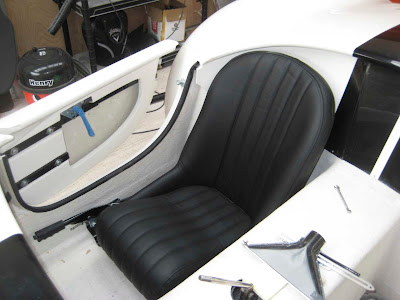
As soon as I bought a seat into the garage I couldn't resist trying it in the car - just to see what it looked like - I didn't sit in it or anything like that... honest!!!
 |
| Just to see what it looks like |
The runners are bolted to the underside of the seat using 4 button head screws that come with the runners. These bolt into captive nuts that are hidden under the leather of the seat. Once you know roughly where they are they are quite easy to locate.
I then used a bradawl to open up the leather and expose the captive nut and test fitted the button heads.
The first seat went according to plan but I ran into some trouble on the second seat as the one captive nut was defective. I was unable to repair this using a tap (my tap and die set seems to have a different pitch for M8 to the seat mounting bold) so i drilled a new hole and fitted a rivnut in line with the next position in the runner.
The runners were then fitted without further problem. It looks like the runners I have are of a newer design than on some of the other builds I have looked at as the adjuster bar is easily removable. This is a real a bonus for IVA as I understand the seat needs to be in a fixed position if the head restraints aren't seat mounted.
Couple of tips here...
1. Make sure you put the runners on the right way round, ie. check which end goes to the the front of the seat so that the adjuster bar isn't at the back of the seat.
2. The distance between centres on the seat mountings is 330mm - there is only one way up the runners go using this measurement. The distance between centres for the side of the runner that mounts to the car floor is 300mm - this is a pain as the car floor is predrilled at 330mm.
3. The spacers are used on the front mounting bolts only - no spacers are used at the rear which is contrary to the build CD


No comments:
Post a Comment